mcculloch eager beaver 2.0 chainsaw manual
McCulloch Eager Beaver 2.0 Chainsaw Manual: A Comprehensive Guide
This manual details the McCulloch Eager Beaver 2.0 chainsaw, addressing assembly, operation, maintenance, and troubleshooting. It ensures safe and efficient usage, covering all aspects.
The McCulloch Eager Beaver 2.0 is a popular chainsaw designed for homeowners and occasional users. Known for its reliable performance and ease of use, this model excels in tasks like pruning, limbing, and cutting firewood. This manual provides comprehensive instructions for safe operation and maintenance, ensuring longevity and optimal functionality. Understanding each component and following the outlined procedures will maximize the chainsaw’s efficiency. Proper care and adherence to safety guidelines are crucial for a positive user experience.
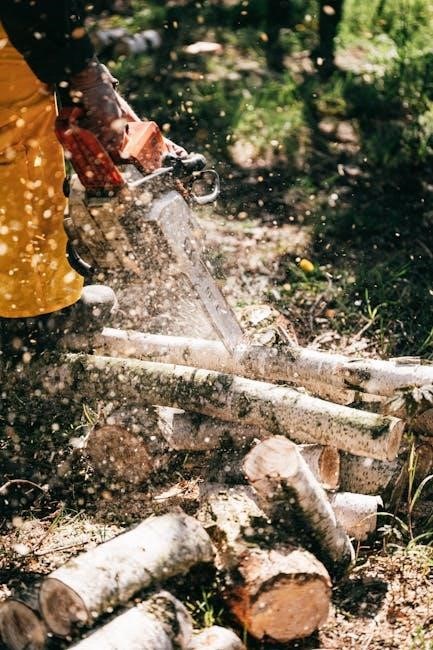
Safety Precautions and Warnings
Always prioritize safety when operating the McCulloch Eager Beaver 2.0. Wear appropriate personal protective equipment, including safety glasses, hearing protection, gloves, and sturdy footwear. Ensure a clear work area, free from obstructions and bystanders. Never operate the chainsaw with one hand. Be aware of kickback, a sudden upward or backward movement of the bar. Regularly inspect the chainsaw for damage and ensure all safety features are functional. Disconnect the spark plug before performing any maintenance.
Understanding the Chainsaw Components
The McCulloch Eager Beaver 2.0 comprises several key components. The engine provides power, driving the chain around the bar to cut wood. The bar supports the chain, and its length determines the maximum cutting diameter. The chain itself features cutting teeth for efficient wood removal. Familiarize yourself with the location of the fuel tank, oil reservoir, and chain tensioning mechanism. Understanding these parts is crucial for proper assembly, operation, and maintenance of your chainsaw.
Identifying Key Parts: Bar, Chain, Engine
The bar is the guiding component for the chain, available in varying lengths. Inspect it for damage before each use. The chain, with its meticulously crafted cutting teeth, is responsible for the actual cutting action. Ensure proper tension and sharpness. The engine powers the entire operation, requiring correct fuel and oil mixtures. Locate the starter mechanism and safety features on the engine housing. Understanding each part’s function is vital for safe and effective chainsaw operation and maintenance.
Fuel and Oil Specifications
The McCulloch Eager Beaver 2.0 requires a specific fuel mix: unleaded gasoline and a high-quality 2-stroke engine oil. A 50:1 ratio (fuel to oil) is generally recommended, but always verify with the engine’s label. Use only fresh fuel, stored properly in an approved container. For chain lubrication, utilize a dedicated bar and chain oil. Avoid using recycled or automotive oils, as they can damage the chainsaw. Proper lubrication minimizes friction, extends chain life, and ensures optimal cutting performance.
Assembly Instructions
Before operating the McCulloch Eager Beaver 2.0, careful assembly is crucial for safety and performance; Begin by unpacking all components and verifying their presence against the parts list. Attach the bar, ensuring proper alignment with the chainsaw body. Next, install the chain, paying attention to the correct direction of the cutting teeth. Adjust chain tension – it should have slight deflection but not excessive slack. Secure all nuts and bolts to the manufacturer’s specified torque. Double-check all connections before starting.
Attaching the Bar and Chain
Properly attaching the bar and chain is fundamental to safe operation. First, loosen the bar nuts, but do not remove them completely. Position the bar onto the chainsaw body, aligning the bar groove with the drive sprocket. Install the chain around the bar and sprocket, ensuring the cutting teeth face in the correct direction – towards the direction of rotation. Slide the bar into its final position and tighten the bar nuts securely, but not excessively. Verify the chain seats correctly within the bar groove.
Adjusting Chain Tension
Correct chain tension is crucial for efficient cutting and preventing premature wear. With the bar and chain installed, locate the tensioning screw. Loosen the bar nuts slightly to allow for adjustment. Turn the tensioning screw until the chain exhibits minimal sag when lifted midway along the bar’s length. The chain should be snug but still able to be pulled around the bar by hand. Retighten the bar nuts securely after achieving the correct tension. Regularly check and adjust tension during use.

Starting the Chainsaw
Before starting, ensure the chainsaw is on a firm, level surface and the chain brake is engaged. Verify proper fuel and oil levels. For a cold start, prime the carburetor bulb 6-8 times. Set the choke to the ‘start’ position. Grip the front handle firmly and pull the starter cord with a smooth, deliberate motion. Once the engine sputters, disengage the choke and pull again. For a warm start, skip the priming and choke steps, pulling the cord directly.
Cold Start Procedure
Begin by verifying the chain brake is engaged and the chainsaw rests on a stable surface. Prime the carburetor bulb approximately 6-8 times until fuel is visible. Position the choke lever to the ‘start’ setting, restricting airflow for a richer mixture. Grasp the front handle securely with one hand and the rear handle with the other. Pull the starter cord firmly using a smooth, controlled motion. Repeat until the engine attempts to ignite.
Warm Start Procedure
Ensure the chainsaw is on a level surface with the chain brake engaged. Unlike a cold start, the choke lever should generally remain in the ‘run’ or open position. However, if the engine struggles, briefly engage the choke for one or two pulls. Grip both handles firmly for control and stability. Pull the starter cord with a decisive, yet controlled motion. The engine should ignite with minimal effort. Avoid excessive pulling, which could flood the engine.
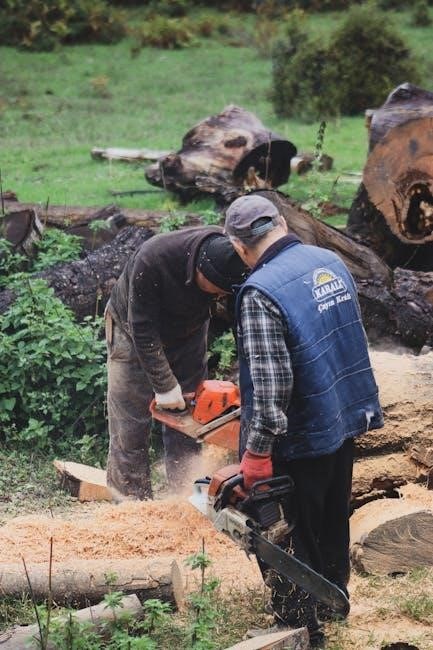
Operating Instructions
Always wear appropriate safety gear, including eye and ear protection, gloves, and sturdy boots. Before each use, inspect the chainsaw for loose parts and damage. Ensure the chain is properly tensioned and sharpened. Maintain a firm grip with both hands, keeping your body balanced. Start with small branches to get a feel for the saw’s power. Avoid cutting above shoulder height. Be mindful of kickback and use proper cutting techniques. Never operate the chainsaw with one hand.
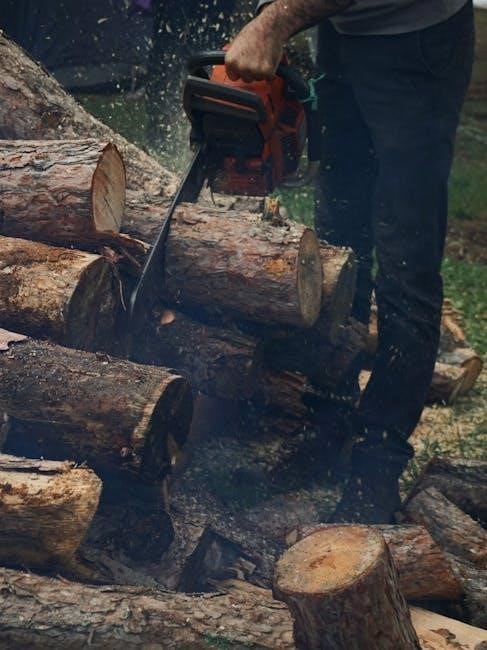
Proper Cutting Techniques
Employ a firm stance and maintain a secure grip on the McCulloch Eager Beaver 2.0. Utilize the lower portion of the bar for controlled cuts, minimizing kickback risk. Avoid pinching the bar, which can stall the chain and cause injury. Plan your cuts, considering the wood’s weight and potential movement. Use the bumper spike as a pivot point for accurate control. Never overreach or cut with the tip of the bar. Keep the chain moving at a consistent speed for clean, efficient cuts.
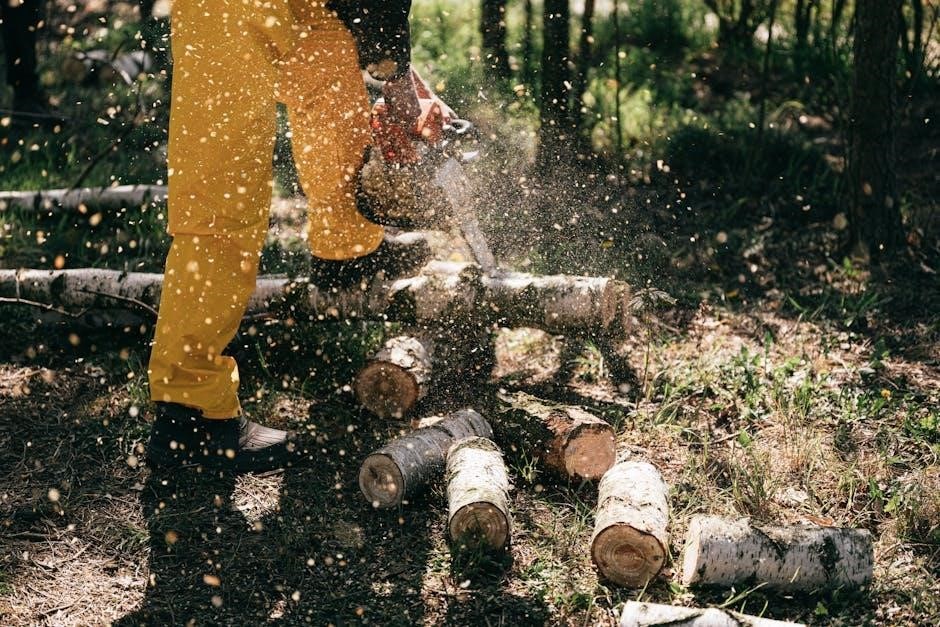
Felling Small Trees and Limbs
When felling small trees with your McCulloch Eager Beaver 2.0, assess the lean and surrounding obstacles. Make a notch cut on the side of the intended fall, followed by a back cut, leaving a hinge. For limbs, start with undercut to prevent tearing. Maintain a safe distance from the falling tree or limb. Be aware of springback and potential hazards. Always plan an escape route at a 45-degree angle from the anticipated fall line. Prioritize safety and controlled movements during all felling operations.
Maintenance and Troubleshooting
Regular maintenance extends the life of your McCulloch Eager Beaver 2.0. Sharpen the chain frequently for efficient cutting, and clean or replace the air filter after each use. Inspect the spark plug periodically, cleaning or replacing as needed. Address issues promptly; a chainsaw that won’t start may have a fuel problem. If the chain stops, check tension and lubrication. Proper upkeep prevents major repairs and ensures optimal performance. Refer to the detailed sections for specific procedures and troubleshooting steps.
Chain Sharpening Guide
Maintaining a sharp chain is crucial for safe and efficient cutting with your McCulloch Eager Beaver 2.0. Use a round file of the correct size, guided by a sharpening tool. Maintain the correct filing angle, typically 30 degrees. Sharpen each tooth consistently, ensuring uniform length and depth. Pay attention to the raker teeth, filing them down to the correct height. Regular sharpening reduces strain on the engine and improves cutting performance. A dull chain is dangerous and inefficient, requiring more force.
Air Filter Cleaning and Replacement
A clean air filter is vital for optimal engine performance of your McCulloch Eager Beaver 2.0. Regularly inspect the filter after each use, or more frequently in dusty conditions. Remove the filter cover and carefully take out the filter element. Clean the filter by tapping it gently to remove loose debris, or wash it with mild soap and water. Allow it to dry completely before reinstalling. Replace the filter when it becomes damaged or excessively dirty, ensuring proper airflow to the carburetor.
Spark Plug Inspection and Replacement
Regular spark plug inspection is crucial for maintaining the McCulloch Eager Beaver 2.0’s ignition system. Disconnect the spark plug wire before inspection. Remove the spark plug using a socket wrench. Inspect the electrode for wear, fouling, or damage. Clean the plug with a wire brush if lightly fouled. Check the gap using a feeler gauge, adjusting to the manufacturer’s specification. Replace the spark plug if it’s heavily worn or damaged, ensuring proper engine starting and performance. Reinstall and reconnect the wire securely.
Fuel System Maintenance
Maintaining the McCulloch Eager Beaver 2.0’s fuel system ensures optimal performance and longevity. Regularly check the fuel lines for cracks or leaks, replacing them if necessary. Periodically replace the fuel filter to prevent debris from clogging the carburetor. Use fresh fuel and a fuel stabilizer, especially during storage. Inspect the fuel tank for contamination. Address any carburetor issues promptly, potentially requiring professional adjustment or cleaning; Proper fuel system care prevents starting problems and ensures efficient operation.
Fuel Filter Replacement

Replacing the McCulloch Eager Beaver 2.0’s fuel filter is crucial for maintaining a clean fuel supply. First, shut off the engine and disconnect the fuel line from the carburetor. Carefully remove the old filter, noting its orientation. Install the new filter, ensuring correct direction of flow, usually indicated by an arrow. Reconnect the fuel line securely. Check for leaks after restarting the engine. Regular replacement – every 50 hours of use – prevents carburetor clogging and ensures consistent performance.
Carburetor Adjustment (If Applicable)
Carburetor adjustments on the McCulloch Eager Beaver 2.0 are typically only needed if experiencing performance issues. Begin by warming up the engine. Locate the adjustment screws – usually labeled ‘H’ (high speed) and ‘L’ (low speed). Adjust ‘L’ for smooth idling, then ‘H’ for maximum speed without surging. Small adjustments are key; turn screws incrementally. If unsure, consult a qualified technician. Incorrect adjustments can damage the engine. Always refer to the engine manufacturer’s specifications for precise settings.
Troubleshooting Common Issues
Common problems with the McCulloch Eager Beaver 2.0 include starting difficulties and chain stoppage. For no-start issues, check fuel levels, spark plug condition, and air filter cleanliness. A flooded engine requires removing the spark plug and pulling the starter cord repeatedly. If the chain stops during cutting, inspect chain tension, bar lubrication, and ensure no obstructions are present. Always disconnect the spark plug wire before performing any maintenance. Regular maintenance prevents many issues. Consult a professional for complex problems.
Chainsaw Won’t Start
If your McCulloch Eager Beaver 2.0 fails to start, several factors could be at play. First, verify fuel supply and ensure the fuel is fresh. A clogged air filter restricts airflow, hindering ignition. Inspect and clean or replace it. Check the spark plug for fouling or damage; clean or replace as needed. A flooded engine requires removing the spark plug and pulling the starter cord repeatedly. Ensure the choke is properly engaged for cold starts; Always disconnect the spark plug before inspection.
Chain Stops During Cutting
If the chain halts mid-cut on your McCulloch Eager Beaver 2.0, investigate immediately. A dull chain is a primary cause; sharpen it promptly. Insufficient chain lubrication creates excessive friction. Verify the oiler is functioning and the reservoir is full. Overheating can cause the chain to expand and bind. Allow the saw to cool. Check for debris lodged within the bar groove. Ensure proper chain tension; a loose chain derails easily. Inspect the clutch for wear or damage.
Storage and Transport
Proper storage and transport of your McCulloch Eager Beaver 2.0 are crucial for longevity and safety. For long-term storage, drain fuel completely to prevent carburetor issues. Clean the saw thoroughly, and apply a light coating of oil to metal surfaces. Store in a dry, secure location, away from children. When transporting, always engage the chain brake and bar cover. Secure the chainsaw to prevent movement and potential injury. Never transport a running chainsaw. Follow local regulations regarding fuel transport.
Long-Term Storage Procedures
Preparing your McCulloch Eager Beaver 2.0 for extended storage requires careful attention. Completely drain the fuel tank and carburetor to avoid gumming and corrosion. Add fuel stabilizer to the remaining fuel if immediate draining isn’t possible. Clean the chainsaw thoroughly, removing sawdust and debris. Apply a light oil coating to all metal parts to prevent rust. Store the saw in a dry, dust-free environment, ideally in its case. Disconnect the spark plug wire for added safety. Ensure proper ventilation during storage.
Safe Transport Guidelines
Transporting your McCulloch Eager Beaver 2.0 chainsaw safely is crucial. Always engage the chain brake and ensure the bar is covered with a scabbard. Secure the chainsaw firmly within a designated carrying case or vehicle to prevent movement during transit. Never transport a running chainsaw. Ensure proper ventilation if transporting inside a closed vehicle. Comply with all local regulations regarding chainsaw transport. Avoid dropping or subjecting the chainsaw to impacts. Prioritize safety for yourself and others during transport.
Technical Specifications
The McCulloch Eager Beaver 2.0 boasts a robust 49.3cc two-stroke engine, delivering a power output of 2.2 horsepower. Its engine displacement ensures efficient cutting performance. Bar length options range from 16 to 20 inches, catering to diverse needs. The chainsaw weighs approximately 11.2 pounds (dry weight). Fuel capacity is 13.5 fl oz, and the oil tank holds 8.5 fl oz. Chain pitch is 3/8 inch, with a gauge of .050 inch. These specifications define its capabilities and performance characteristics.

Engine Displacement and Power
The McCulloch Eager Beaver 2.0 is powered by a dependable 49.3 cubic centimeter (cc) two-stroke engine. This displacement provides a balance of power and weight for various cutting tasks. The engine generates 2.2 horsepower (HP), delivering sufficient force for felling small trees and trimming branches. This power output ensures efficient operation, even under load. The two-stroke design offers a high power-to-weight ratio, contributing to the chainsaw’s maneuverability and ease of use. Proper fuel mixture is crucial for optimal performance.
Bar Length Options
The McCulloch Eager Beaver 2.0 chainsaw typically comes standard with a 16-inch bar, offering versatility for common household tasks. However, compatible bar lengths can range from 14 to 18 inches, allowing users to customize the chainsaw for specific needs. A shorter 14-inch bar provides increased maneuverability in tight spaces, while an 18-inch bar extends reach for larger branches. Always ensure the chain is appropriately sized for the installed bar length. Using the correct bar enhances cutting efficiency and safety.
Warranty Information
McCulloch offers a standard warranty on the Eager Beaver 2.0 chainsaw, typically covering defects in materials and workmanship. This warranty generally lasts for one year from the original purchase date, protecting against manufacturing flaws. Commercial or professional use may void portions of the warranty. Keep your original purchase receipt as proof of date. Warranty claims require returning the chainsaw to an authorized McCulloch service center. The warranty does not cover normal wear and tear, improper maintenance, or damage from misuse.

Exploded View Diagram & Parts List
A detailed exploded view diagram illustrates each component of the McCulloch Eager Beaver 2.0 chainsaw, aiding in assembly and repair. This visual guide showcases how parts interrelate, simplifying maintenance. The accompanying parts list provides specific part numbers for easy ordering of replacements. Commonly replaced items like chains, bars, sprockets, and filters are clearly identified. Refer to this diagram when disassembling or servicing your chainsaw. Always use genuine McCulloch replacement parts to ensure optimal performance and safety.